
Guest Blogger: How to create a bullet journal spread by @artbyadorel
Hi WashiGang Crew! We're so very excited to introduce you to a brand new Guest Blogger today - Adorel AKA @artbyadorel. If you have a look on Adorel's instagram page, you'll find the most stunning hand drawn and painted #bujo spreads. If you're fairly new to bullet journaling, Adorel has broken down the process of creating a bullet journal spread with a very helpful guide on how to create a bullet journal spread. And if you're not new to bullet journaling, read on for a few tips and tricks that Adorel has shared for getting you to think outside the box and use your tool kit in a different way.
Bullet journaling is famous for giving you the freedom to personalise a planner by either playing to your strengths or using it as an opportunity to try something new. However, all that freedom can understandably come with some hesitance about where to start with each spread. In this blog, I have gathered some of my bullet journal spread tips that will hopefully make it easier for you to get started!
What are bullet journal spreads?
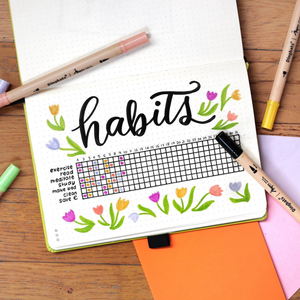
Before jumping into the details, let’s talk about what bullet journal spreads are! These are usually two pages that are side-by-side in your bujo. They help you stay organised or record aspects of your life. Different types include:
- Yearly spreads
- Monthly spreads
- To-do spreads
- Goal spreads
- Tracker spreads
- Budget spreads
However, the one you have probably heard the most is a ‘weekly spread’; this type simply enables you to plan out your week and stay on top of what is happening each day. In this blog, I will be concentrating mainly on this as an example since it’s the one I primarily make. Arguably, this is the only one you need to get you through the week, particularly when time is limited!
Materials to use for bullet journal spreads
The materials you can use in your bullet journal are endless. This is because the degree to which you decorate and design your spread is entirely up to you! At the very basics, all you need is a pen and your bujo. You can achieve an extremely beautiful, minimalist look with just these two items. But of course, you don’t have to stop there! You can use markers, washi tapes, stickers, fine liners, highlighters, craft paper, foil, coloured pencils or, my personal favourite: paint.
If you have been following my art account on Instagram (@artbyadorel), you’ll see that I go all-out with illustrations and treat each page like a canvas. Personally, bullet journaling is not only a way to create a personalised planner, but it’s also a way to channel my creativity and try something new. You could consider treating your bujo the same way! A weekly spread I painted for one of my themes last year!
My tips on making an illustrative bujo spread
Sketch it out
Before I create any bullet journal spread, I sketch it out lightly onto the page with a pencil. This helps me to plan where all my elements will be going. I find it particularly necessary when I’m illustrating something more complex such as a whole landscape! Not only is this vital in the painting process (to be a guide for where colours will go on the page) but it makes sure I divide the page appropriately so that you have enough space to write in for each day. There have been times when I’ve under-estimated how much room I’ve needed which led to me writing in teeny tiny letters to try and squeeze all my tasks in. Hence, making sure you’ve got the spacing right before you commit to putting something permanent onto the page can be super helpful in avoiding a miscalculation!
Think outside the box
While boxes are a great and simple way to accommodate your daily tasks, you can always break the boundaries and create a funky spread to keep you smiling throughout the week. The spread I’ve designed below is using Acrylograph Pens (Tropical Selection). Along with the fluid ‘boxes’, you can use some fun paint markers like these to brighten any spread! Using fluid shapes and Acrylogaph pens to brighten a spread!
Invest in a white pen
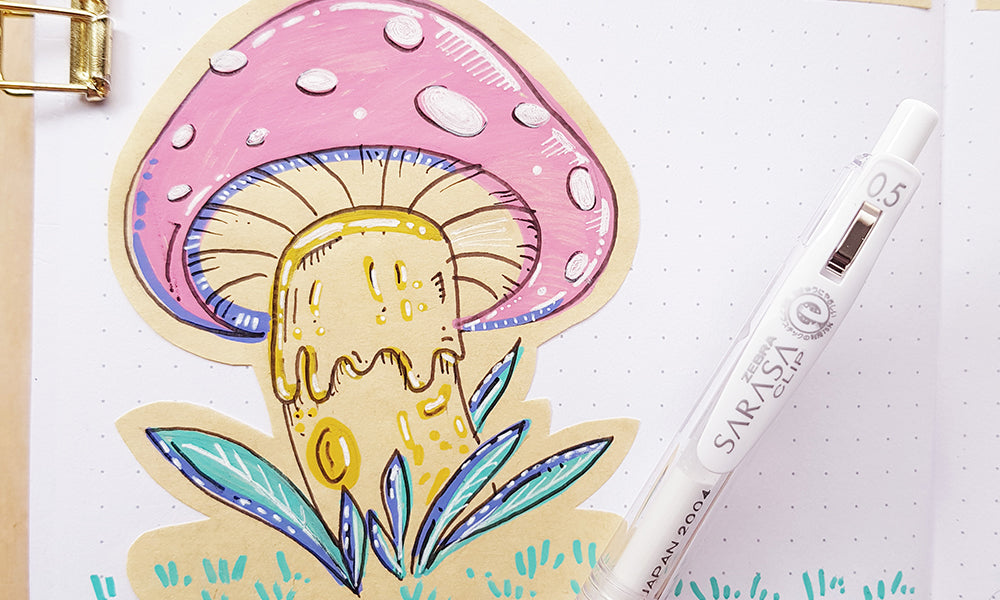
A white pen is such a useful tool when you are creating any illustration. It’s always by my side and I know I can rely on it to add those beautiful final touches. From adding some random specks in a sky, or drawing small lines to add highlights to a painting, you can be assured that it will make your spread pop. Below, I have taken a photo of an illustration before and after using a white pen to show you what a difference it makes! Before and after using a white pen for details and highlights.
 You can use a white pen like Zebra’s Sarasa White pen from WashiGang to make your bullet journal spreads pop!
Save time with supplies
There are plenty of useful planner items that can serve as a shortcut when making spreads! I recently got this Vintage Style Days of the Week Washi Tape from the WashiGang store. With all the days of the week on it, you simply cut and paste each respective one onto your spread. If you’re not the best at lettering like me, you can easily use this tape to label your daily boxes! Even calendar stamps or stencils can be used as a shortcut for other elements of your spread. You can check out some of these fun supplies at WashiGang’s store!
You can use supplies like this Vintage Style Days of the Week Washi Tape to label daily boxes in your bullet journal spreads.
Get inspiration
My last tip would be to seek inspiration from fellow bullet journalers around the world by going through hashtags such as #bulletjournalspreads #bujospreads or #bujospreadideas. Even Pinterest is a great place to start looking! The more styles you see, the more inspired you’ll be to create your spread.
Remember, the joy of bullet journaling is that you get to decide how your planner looks and how you use it! Whether you feel inspired to create an illustrative spread like me or to take the minimalist route, as long as it serves your purpose (whatever that may be), you have already succeeded!
Thanks so much for reading! We hope you enjoyed our guest blog post from Adorel! Make sure you give Adorel a follow on Instagram - @artbyadorel and don't forget to tag us if you try any of Adorel's tips!
Who would you like to be our guest blogger next? Let us know in the comments.
Continue Reading
-
 Hello lovely journal lovers! With 2025 just around the corner, now's the perfect time to refresh your routines and embrace new habits. Journaling and planning are amazing tools for kickstarting new goals, building habits, and creating routines that stick. Whether you’re a long-time journaling fan or just starting out, we’ve got the most beautiful stationery supplies to spark your inspiration and help you to start 2025 off right!Read now
 -

Gift Ideas for Stationery and Journal Lovers
Are you looking for the perfect gift for the stationery enthusiast in your life? At WashiGang, we’re all about celebrating creativity, organisation, and, of course, beautiful stationery! Here are some thoughtful, fun, and unique gift ideas for every type of stationery lover, from journaling aficionados to artistic souls and those who just love a good pen.Read now -

Bullet Journal Ideas for Halloween
Read nowDo you celebrate Halloween? While Halloween isn't celebrated widely in Australia, it's the perfect time of year to enjoy your favourite spooky movies, books, treats and also a perfect excuse to decorate your journal with Halloween themed washi tapes, stickers and page spreads! Whether you love the spooky season or just want to explore your dark side, these Halloween-inspired bullet journal ideas and prompts will help you get into the spooky spirit while staying productive.






Leave a comment